
Shin Splints Taping
Shin splints taping is a quick and hightly effective way of relieving shin pain. If you have ever suffered with shin splints then you will know what a frustrating and painful injury it is. However, did you know most people can instantly relieve their shin pain with a simple roll of zinc oxide sports tape?
What is the best tape for shin splints taping?
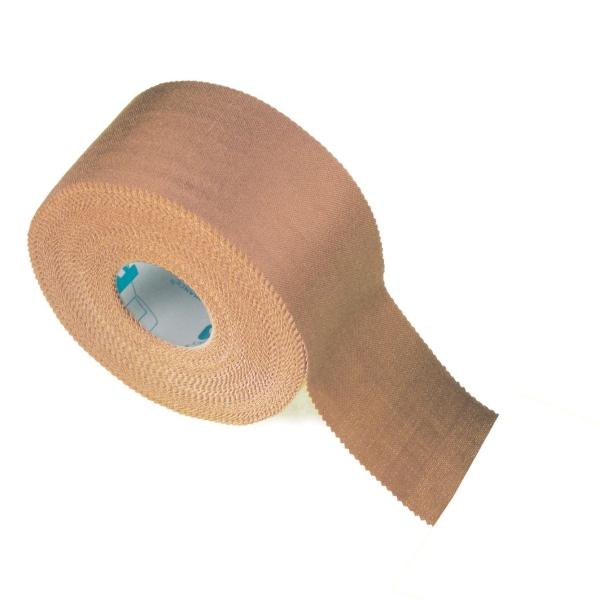
We recommend a roll of 2.5cm zinc oxide tape. Specifically the higher quality Tan Tape because it is stronger and sticks better. As a result, the shin splints taping technique is more effective for longer.
What is Shin Splints?
Shin splints is a general term given to pain on the lower inside of your leg. The most common cause is medial tibial stress syndrome. In simple terms, the muscles of your lower leg pull on the outer later (periostium).
Symptoms develop gradually over time. It is an overuse injury which is exacerbated by various factors such as foot biomechanics, footwear, muscle weakness and running surfaces.
A popular treatment is to apply ice or cold therapy for 10 minutes 3 to 5 times a day and rest. This definitely reduces pain and inflammation, but if you do not address the underlying causes then it is likely it will return once you go back to normal training.
How do I tape for shin splints?
One of the simplest and most effective ways of relieving medial shin pain is to apply a simple shin splints taping technique. You can either apply it yourself, or get your physio to help if possible. All you need is a simple roll of non-stretch zinc oxide tape, 2.5cm (1 inch) wide.
Step 1: Prepare the leg
If you have a particularly hairy leg then you may wish to shave the area. This helps the tape stick more effectively and is not as painful when you remove the tape.
You can use spray adhesive and underwrap if you prefer, but this is not as good as applying tape directly to your skin. Sit with your leg resting over the edge of a massage table, bench or similar.>
Step 2: Apply the first strip

Start at the front of your ankle and apply the tape in a spiral around the outside of your lower leg, round the back and up across the front. Apply gentle tension when coming up around the front of your leg. This pulls the muscles onto the tibia (shin bone) and provides the support. Secure the tape on the upper outside of your lower leg.
Step 3: Apply strip 2

Repeat step 1 with another strip of zinc oxide tape. Start again at the front of your ankle and overlap slightly with the previous strip. Don’t forget to apply tension as you come up the inside of your shin.
Step 4: Check and test
When you have applied the shin splints taping technique, try walking around. The tape should cover the most painful area on the inside of your shin. If it doesn’t then you may need to apply a third strip to make sure. Your shin pain should be significantly reduced. If it is uncomfortable then you may have applied it too tight. If you think this is the case then remove it and start again. You may need to try a few times before you get it perfect.
Finally: Points to remember:
- Tape only lasts for a short period of time depending on how active you are. Eventually it stretches and you need to re-apply it.
- Don’t neglect the other areas of treatment. Use the taping as part of the cure.
- Buy zinc oxide tape here.